Home
Gallery
About
Cost & Contact
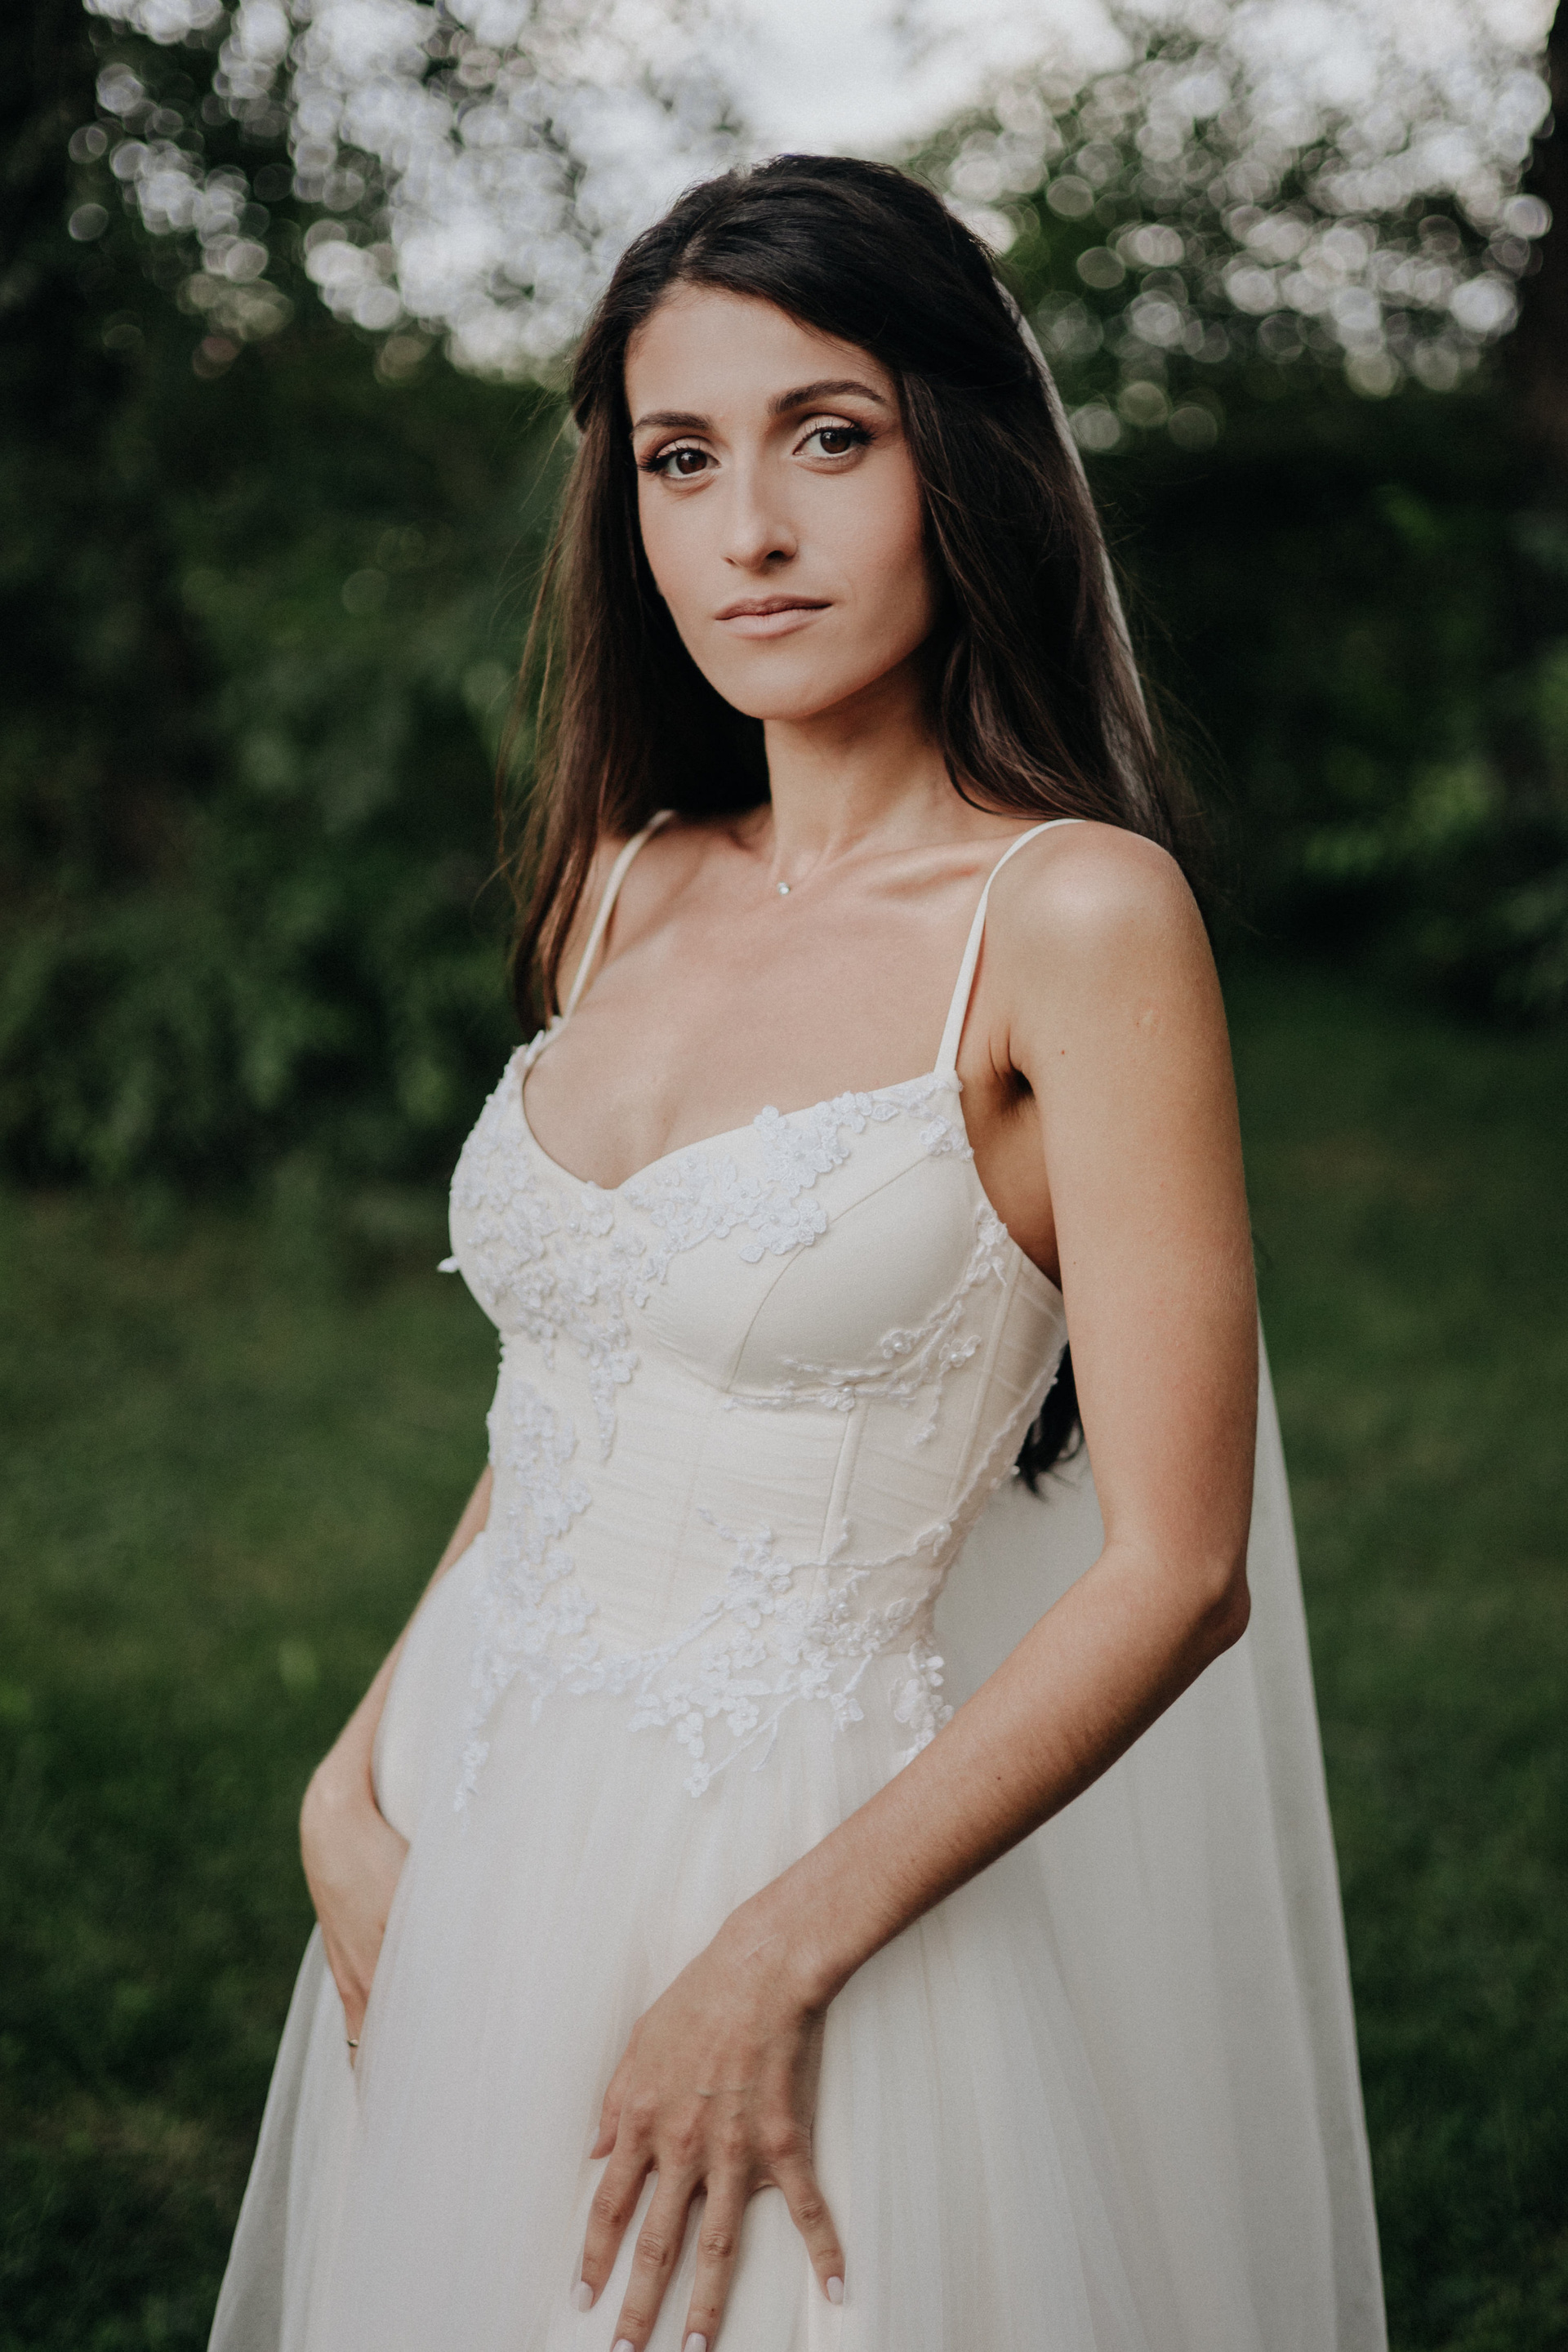
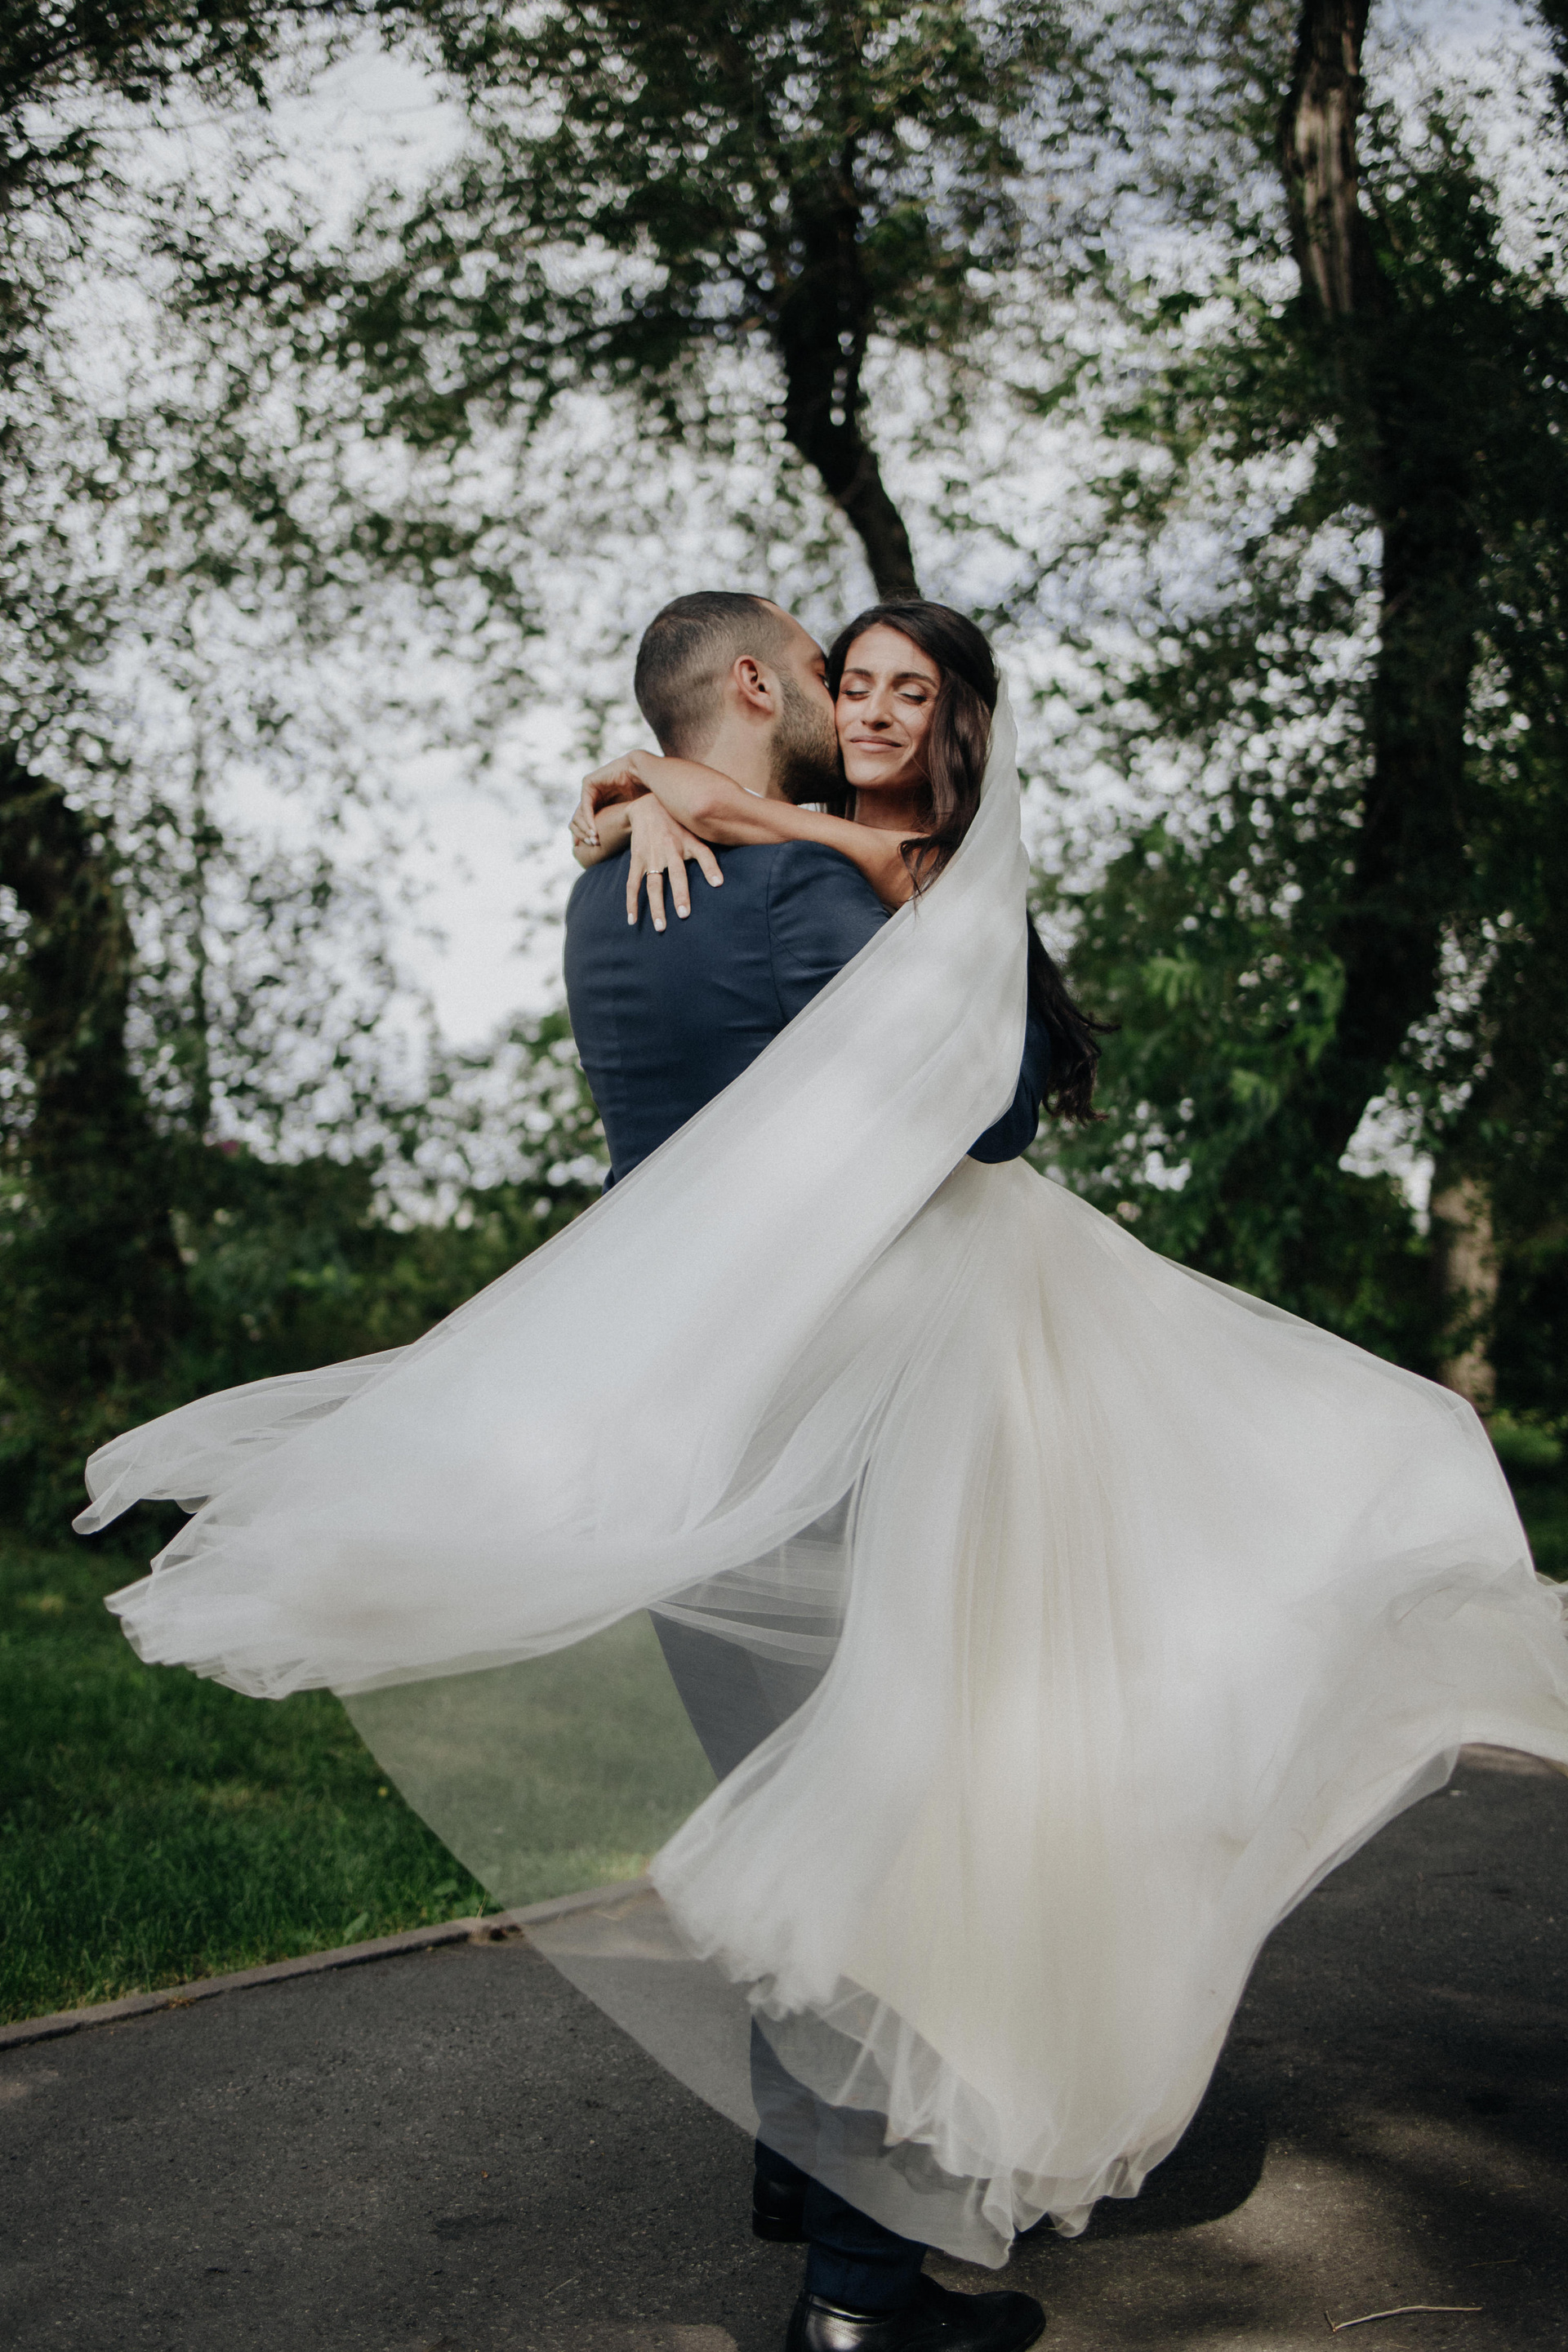
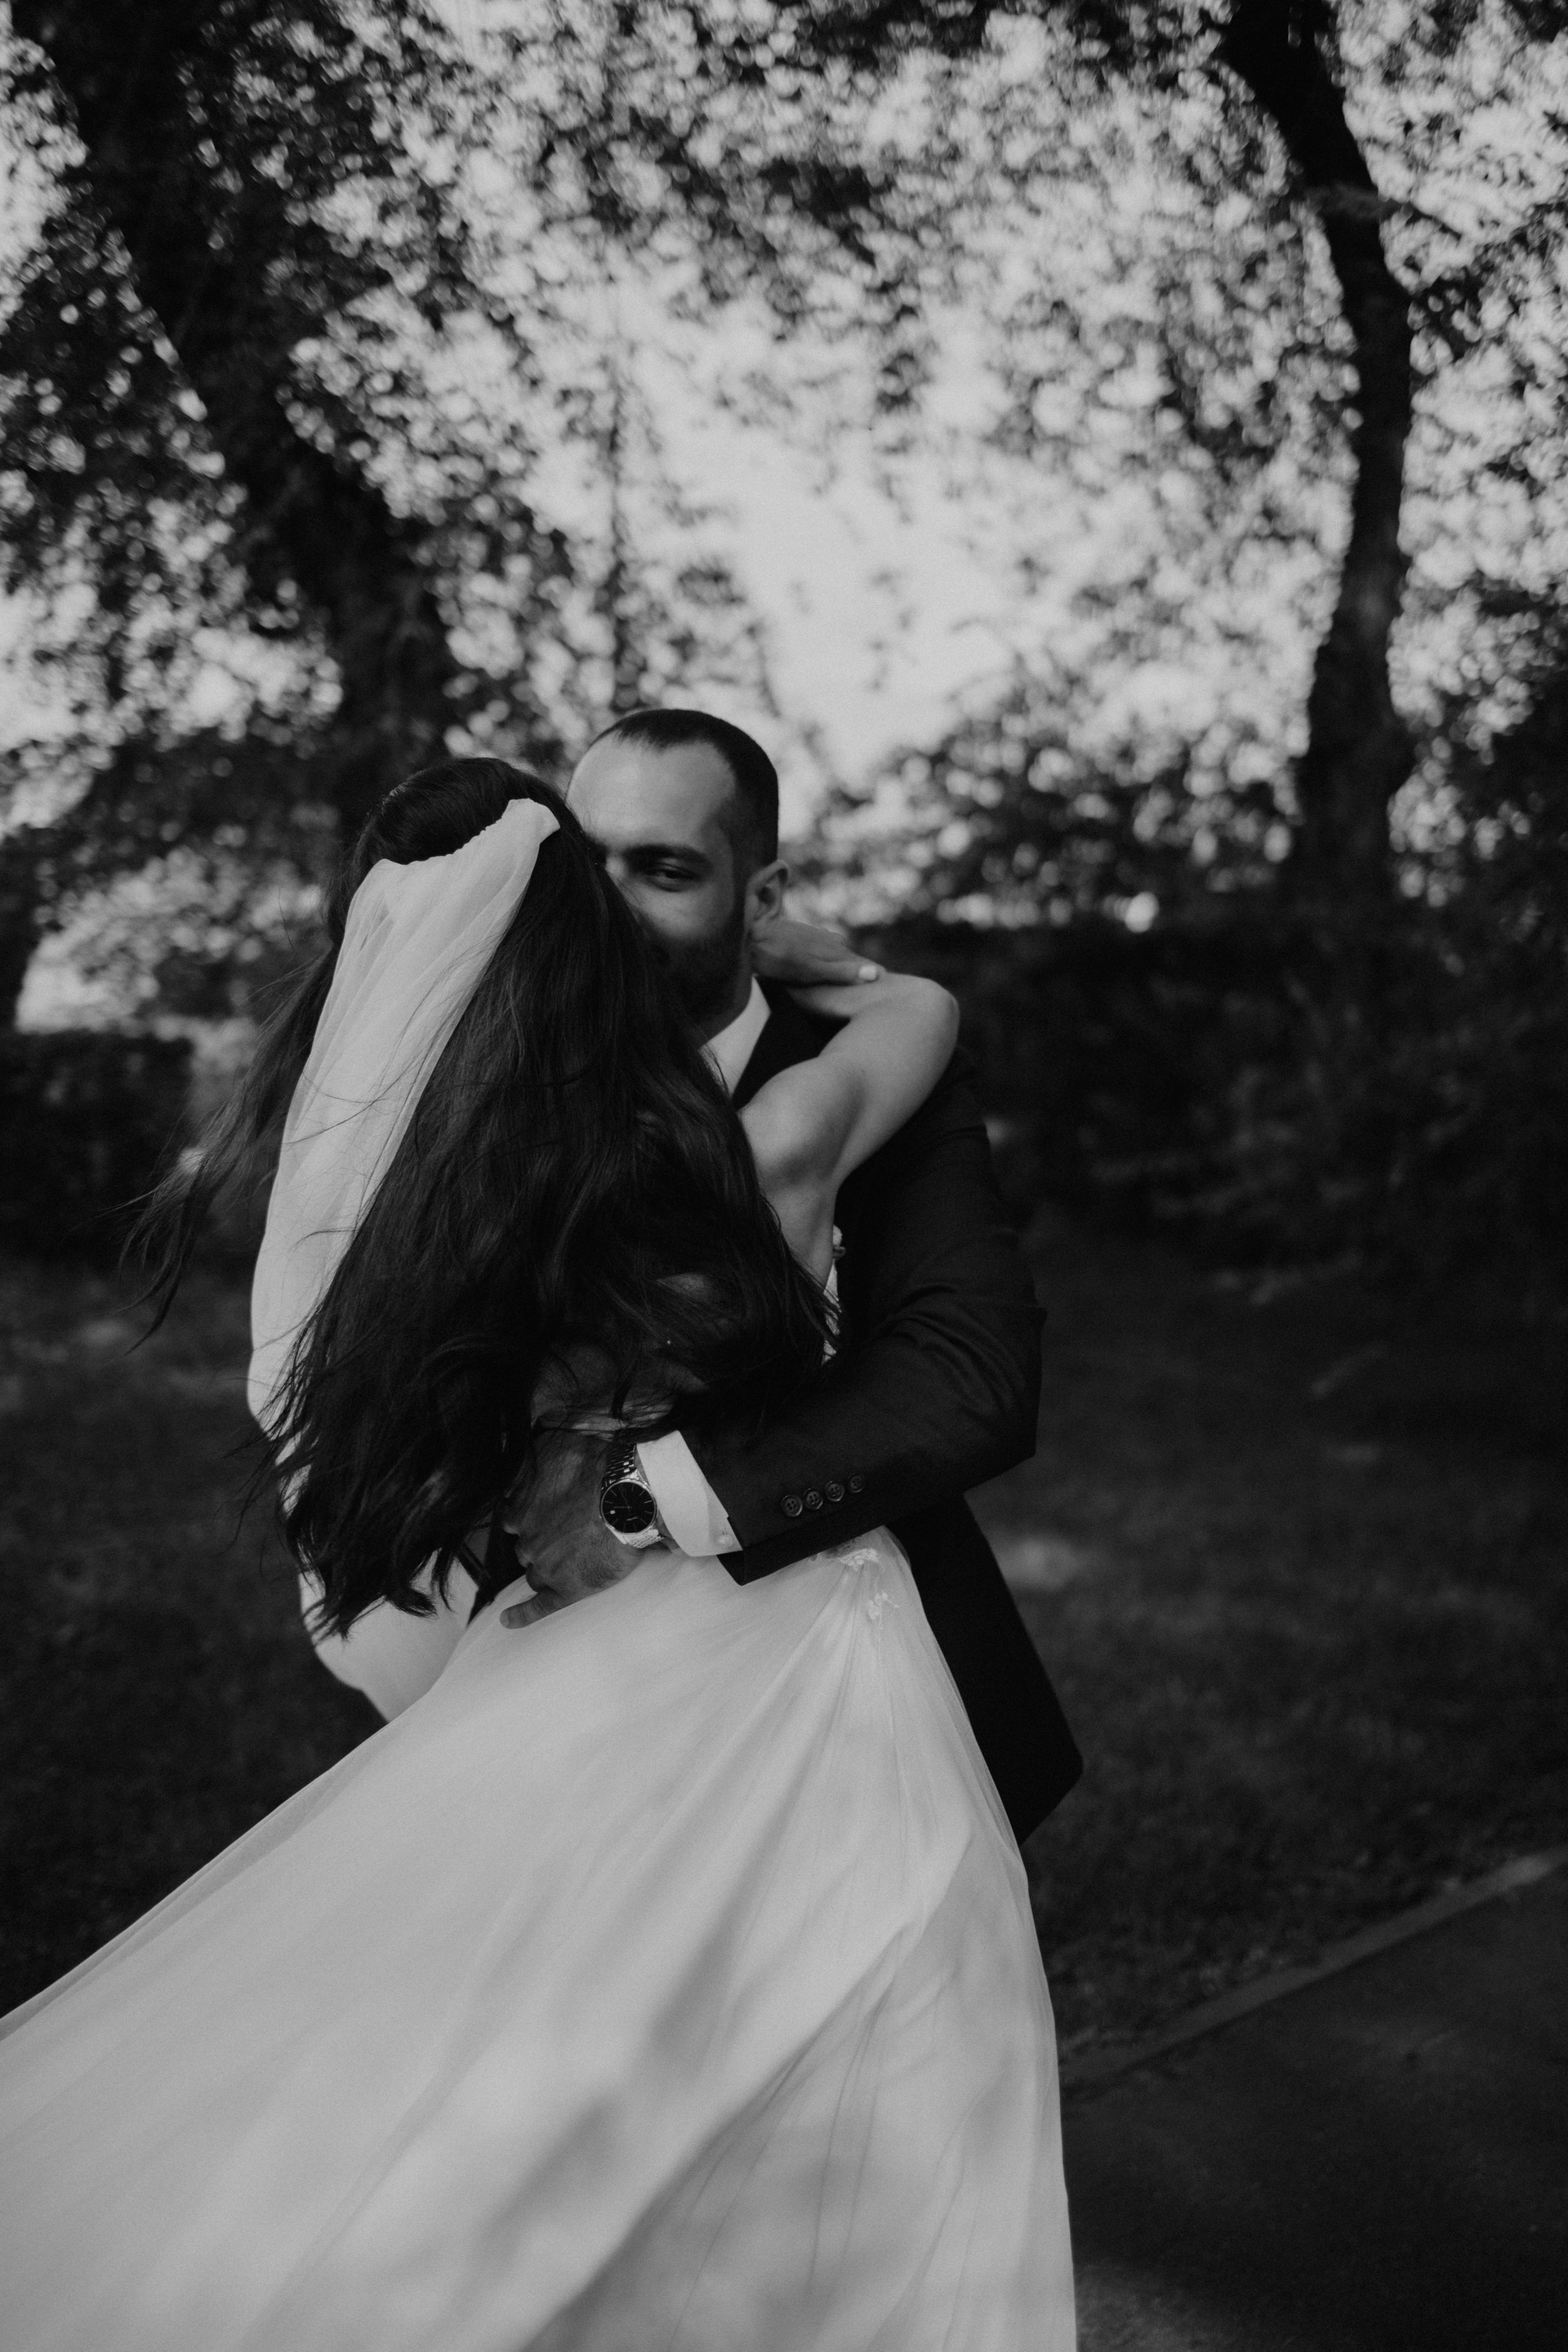
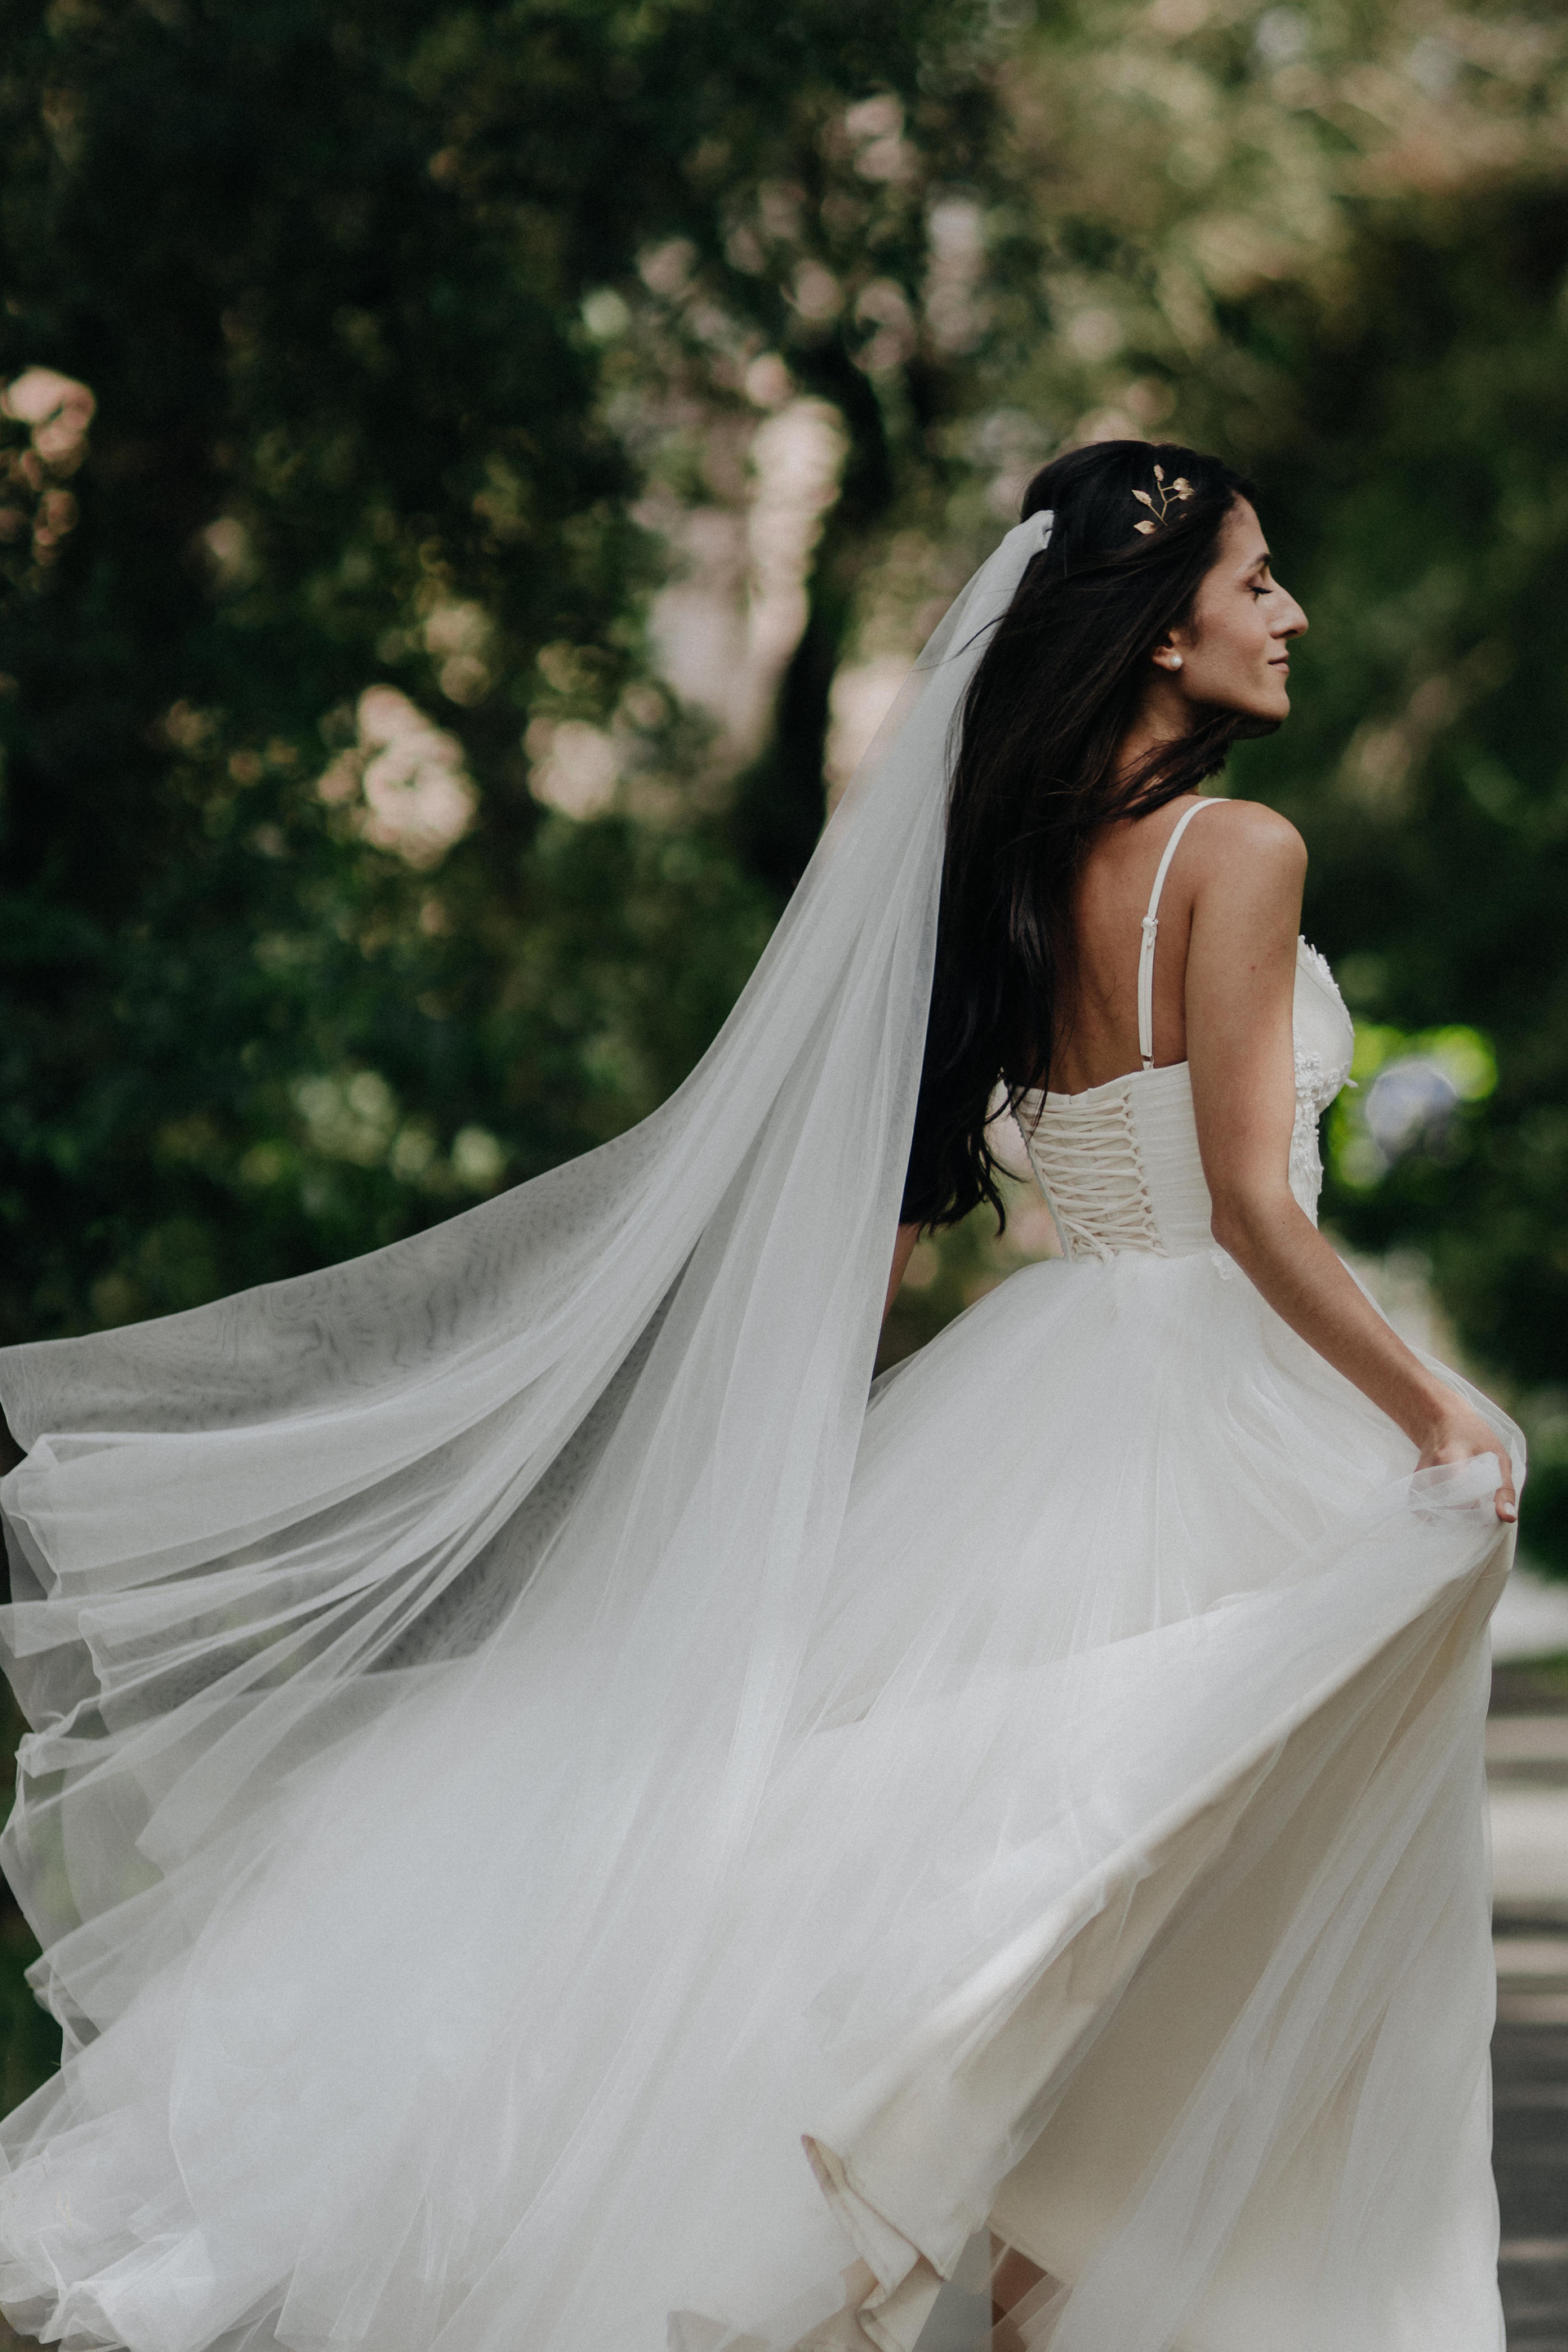
Arevik & Karen
Back to gallery